I’ve talked before about how much I love using acoustic foam panels in my home studio as a means of sound treatment. Good foam panels when set up properly can make a huge difference in the quality of your recordings by reducing echo and absorbing unwanted reflections that can muddy your sound.
Acoustic foam panels really can transform a mediocre recording environment into a professional-sounding space, ensuring that your voiceovers and eLearning content are captured with clarity and precision. The difference in audio quality before and after installing acoustic foam is often night and day, highlighting the nuances in vocal tone and making post-production much easier.
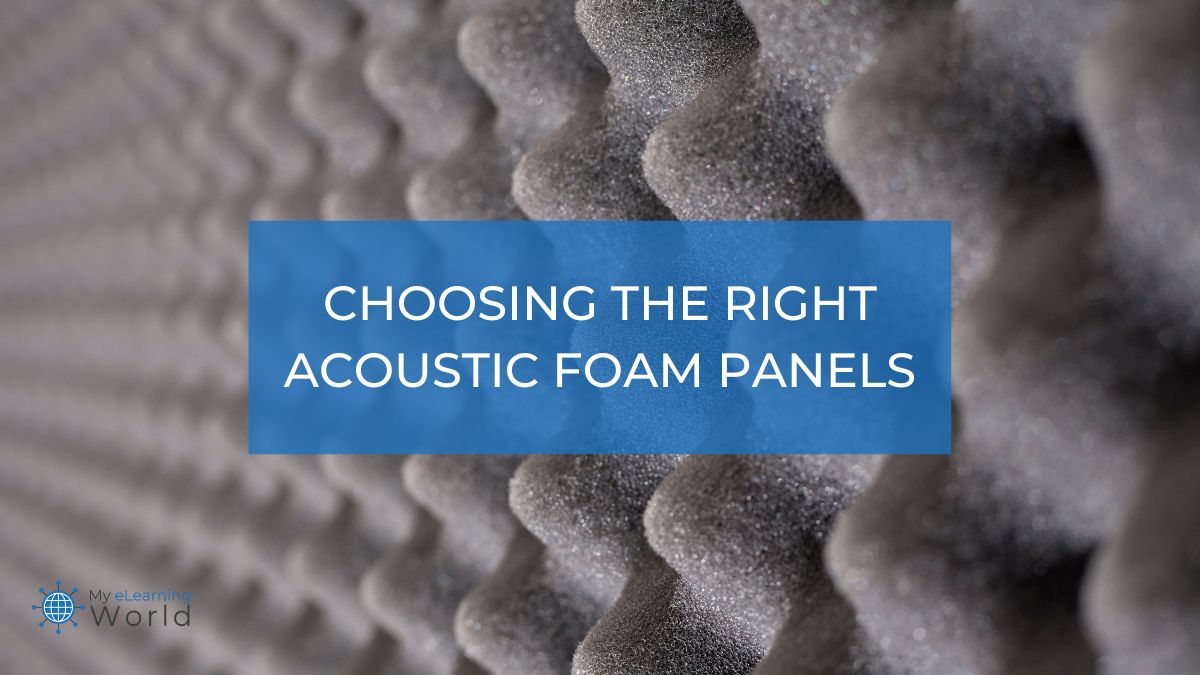
You’ll notice, of course, I included some caveats — “good foam panels” that are “set up properly”. That’s what this guide is about. I’m going to show you some important things you’ll want to consider when shopping for these acoustic foam panels and also offer some tips I’ve picked up for setting them up for maximum impact.

How to Choose the Right Acoustic Foam Panels
The considerations for the acoustic foam tiles include a choice of sound absorption, thickness, size, and design.
To get better quality acoustic panels, look for a high number (in the range of one to 10) for the noise reduction coefficient (NRC) for better sound absorption. The recommended NRC for a home studio is around eight.
Be aware that the NRC is only a measurement of the absorption of the mid-range sound. If you are having trouble with the bass sound in your home recording studio this NRC number is meaningless for bass frequencies because it does not measure them.
The recommended thickness is two inches. Denser foam weighs more.
You can tell if the product is of better quality, with denser foam, by comparing the product’s weight (not including the shipping packaging weight) with another product that covers the same amount of square feet.
The design style of the foam is a matter of personal choice. If they are the same quality, there is not much of a difference between panels that are wedge style, pyramid style, or egg crate style.
The only difference in style that makes a significant difference is a panel designed for capturing low frequencies. Accomplish this by using another product designed specifically to absorb bass frequencies. These specialized “bass traps” install in the corners of the room and the ceiling corners, where bass sound tends to collect. They are thicker, have more angles, and fit in a corner well.
How Many Acoustic Panels Do You Need?
Use this handy acoustic panel room calculator to enter the length, width, and height (in feet) of your home recording studio to get the number of recommended panels.
Please note that in most home recording studios you do not want 100% coverage. You will get better sounding results with a sound treatment that provides 60 to 80% coverage.


The results given by the calculator include a light treatment recommendation for living rooms, conference rooms, or workout rooms. It gives a recommended treatment for most sound rooms, which is good for home studios. It also gives a recommendation for heavy sound treatment for professional recording studios. This calculator tells you the number of panels needed for three sizes of panels that are two-feet square, two by three feet, and two by four feet.
How to Set Up Your Acoustic Panels Correctly
There are two ways to choose the positioning of acoustic panels for a home studio.
The basic way is to use a mirror to imagine the direction of the sound reflections. Doing this mirror technique with the help of a friend makes it easier.
The other way is to use a professional audio testing system that shoots sharp sounds out of a handheld transmitting device while recording the sound as it bounces from the room surfaces. Then, the software makes some calculations and presents a wave pattern of the sound, used by a professional audio technician to make room adjustments.
For the vast majority of home recording studios, the mirror technique is the most appropriate. Invite a friend to help you.
Sit in your desk chair in front of your sound mixing table.
Make sure to center the table and check if it is equidistant from both walls.
Make sure your monitor speakers are at the proper height, which is at eye-level from the center point between the tweeters (high-end speakers) and the bigger mid-range speakers below them. Both speakers are together in the speaker monitor cabinets placed on your studio desk or stands.
Once you have the correct position for yourself, ask your friend to carry a mirror around the room to hold up to the walls. Have your friend stop frequently for you to look for the reflection of the monitor speakers in the mirror. When you see the reflection of your monitors, have your friend mark those spots on the walls. That is where sound will reflect from the sound coming out of your monitors.
If you use acoustic panels to cover a large portion of these reflective areas, you will deaden the reflections and improve the sound in the room. These are the “first reflections” of the sound. You do not have to cover the walls from floor to ceiling for effective sound dampening. Just cover a wide area of the wall about two feet up from the floor to about two feet above the height of your head when you are sitting down at your mixing desk.
Sound Treatment of Corners and Ceilings
If you want the best sound, any corners in the room are going to need sound treatment.
Sound waves move quickly — at 1,086.9 feet per second to be precise.
And when those fast-moving sound waves hit a corner or ceiling in your recording space, they’ll bounce and forth at breakneck speeds, causing flutter echoes.
Consider using bass traps in the corners because bass collects in that part of the room and causes distortions in what you hear in the low-frequency range.
Sit at your sound mixing desk and look up.
If you see a reflective surface, then, that part of the ceiling needs covering with acoustic tiles. Cover from where the ceiling meets the wall in front of you to about six feet behind you. This will keep all the sound that heads upward from being reflecting down to your ears.
It sounds bad when reflected sound is out of sync with the sound you hear from the monitors.
How to Cut Acoustic Foam Sound Absorbing Panels
Cutting acoustic panels is an easy and fun part of setting them up. It is like an art and crafts project.
For acoustic panels that are two-inches thick, you can cut them with a nice pair of scissors. The kind of scissors used to cut fabric.
If you want to cut thicker panels and make clean lines, consider using an electric carving knife like the kind you use to carve a turkey.
Mark the cut to make on the back of a panel and use the electric knife like you might use an electric circular saw. This is easier and makes neater cuts than trying to cut the foam panel with a utility knife.
How to Hang Acoustic Foam Panels
Here are some options to use for ways to hang the acoustic foam sound dampening panels:
Gorilla Heavy Duty Spray Adhesive →
This is a popular spray adhesive that can either be sprayed on the tile, the wall, or the ceiling, and then place the tile in position. It gives a secure bond in 30 seconds and dries completely within 15 minutes. It can also be sprayed on cardboard to attach tiles to a cardboard backing, and then attach the cardboard to the surface in an easily removable way.
This is a translucent spray that creates a strong enough adhesive hold that tiles will permanently stay in place. The tiles will still be removable, without causing damage, even if the installation is temporary or if the acoustic tiles need to be re-positioned.
These strips are 0.75 inches wide by 3.65 inches long. They are strong enough to hold acoustic tiles in place and easily remove without causing any damage. They work on most surfaces.
Tips for Getting the Most from Studio Wall Foam
Here are some tips that will help you with the sound treatment of your home recording studio.
Thickness
Thicker panels are better; however, two-inch-thick panels are is the best choice for a home recording studio. This is the most popular standard.
Size
Large panels are harder to mount and to replace with new ones. Smaller tiles are easier to mount, especially if you are working alone. The most flexible choice is to buy the 12-inch square or 24-inch square sizes of acoustic tiles.
Wall Surfaces
Here are the best things to use for different wall surfaces and textures:
- Drywall and Smooth Surfaces: Use spray adhesive, double-sided tape, adhesive squares, Gorilla® mounting tape, 3M Command Strips®, or two-inch T-shaped pushpins.
- Concrete, Brick, and Rough Surfaces: Use a construction adhesive like Liquid Nails®
- Wallpaper or Textured Surfaces: It is not recommended to install acoustic tiles on these delicate surfaces using spray adhesive. They will not adhere well and you will cause significant damage when removing the tiles.
- Uneven surfaces: Mount the acoustic foam tiles on cardboard to give them a sturdy flat surface to adhere to and then hang the cardboard on the uneven wall using any of the materials described above, depending on the type of wall surface.
The Sandwich Acoustic Panel
Making a “sandwich” of materials may help with the installation of acoustic panels, depending on the surface you are working with. The technique also makes the acoustic panels more portable if you need to remove them frequently, take them to another location, or have to be careful not to damage walls of rented spaces.
The basic sandwich is an acoustic panel mounted on cardboard using permanent spray adhesive. The advanced sandwich technique has more layers, which are, in order, these options:
- Acoustic Tile
- Permanent Spray Adhesive or Glue
- Cardboard, Corrugated Plastic Board, or Plywood
- Wall Surface
Make the acoustic tile sandwich, let it completely dry, and then attach the sandwich to the wall using push pins, small nails, tacks, or a non-permanent, easy-to-remove adhesive, such as 3M Command Strips®.
If you prefer, use adhesive squares. Use at least three adhesive squares (two in corners at the top and one in the center at the bottom) for a one-square-foot acoustic panel or four adhesive squares (one in each corner), if the acoustic-panel thickness is more than two inches.
FAQ
Q: Do foam panels really work?
A: For sound treatment in a studio, acoustic panels are a great, budget-friendly choice. They can help improve the overall sound quality in your space by stopping echoes and reverberations for better recordings.
Q: What is the difference between soundproofing vs. sound treatment?
A: Soundproofing is much more difficult. It blocks sound by stopping vibrations from one place to another. Sound treatment changes the sound, using acoustic panels to improve quality, but does not lower the volume.
Q: What are the common shapes (types) of sound dampening panels?
A: Acoustic panels come in three popular styles, which are wedges, pyramids, and egg crate. There are subtle differences between them; however, they all work in the same way to absorb sound and re-direct the sound waves.
Q: What is Noise Reduction Coefficient (NRC) rating?
A: The Noise Reduction Coefficient (NRC) tells how good the acoustic foam material is at absorbing mid-range frequencies. An NRC of 10 is the maximum with 100% maximum sound absorption of certain mid-range frequencies. An NRC of zero is a reflective surface that absorbs no sound. A decent NRC rating for a home recording studio is around eight. A higher NRC is better. An NRC rating is only a measurement of the mid-range frequencies. It will not help problems with bass sound frequencies.
Q: What about ceiling sound treatment?
A: The sound that hits the ceiling will bounce back down to the walls and the floor. The floor’s sound absorption improves with thick carpet and gets worse if it’s a bare wood floor. Cover the ceiling area directly above the mixing station to get a better sound.
Q: What are other ways to improve sound treatment?
A: Bass traps go along well with acoustic tiles. Lower frequencies come out of the woofers and subwoofers and move in an omnidirectional (spherical pattern) way. The bass sound collects in the corners of a room and builds up until it causes a distortion problem. This means you will not be able to hear the low-end of your sound mix correctly. The solution is a bass trap. For the best results, place these bass traps in all corners of the room where the walls meet and in the spots where the wall corners meet the ceiling.
Q: Can you have too much sound treatment?
A: Yes, it is possible to have too much sound treatment in your recording space, causing the room to sound weird and unnatural and making your recordings sound off. As audio engineer Daniel Milne at TheSeasonedPodcaster.com explained, “Using too much can lead to a room not sounding ‘lively’ enough and sounding unnatural. This will mean you’ll likely be spending time adding artificial reverberation to sounds that you record in your studio.” In other words, more panels and foam pieces isn’t always better.
Scott is also a contributor to numerous top industry publications, including eLearning Industry and the TalentLMS Blog, as well as a trusted expert source whose analysis has been quoted and referenced in the LA Times, Fox Business, Houston Chronicle, NEA Today, and others.