Screen recording is an invaluable tool in eLearning and training scenarios, enabling educators and trainers to capture real-time demonstrations, lectures, and tutorials. This visual approach enhances comprehension (studies show viewers retain nearly 10x more information when it’s presented in video format than just text), allowing learners to revisit and engage with complex concepts at their own pace.
Whether you’re trying to add audio to a Google Slides presentation or PowerPoint deck or you just want to capture a step-by-step software tutorial, screen recording offers a dynamic way to enhance your content, making it more interactive and accessible for your audience.
The good news is there are a few different ways to screen record on a computer. From third-party apps to tools already baked into Windows, let me walk you through some simple ways to get your screen recording done.
3 Ways to Record Your Computer Screen
1. Best Option to Screen Record on a Computer: VEED
If you want to screen record on your computer without any extra hardware, try using VEED. It’s a powerful screen recording software that allows you to record your computer screen and audio, then share the video with others.
To use VEED to record your computer screen, simply visit the website, create an account, and open a new project to start recording. It’s that simple.
When you’re finished making a new screen recording, you can edit it if you want and then share it with others by copying the link or embedding the video on your website.
VEED is a great option to record your screen if you don’t have any extra hardware, or if you want to record a quick video and share it online.
Benefits of Using VEED:
- No extra hardware needed
- Quick and easy to use
- Records audio and video
- Upload and share videos online
- Totally free to get started (paid version with even more features is available)
- Great video editing features
Click here to try VEED for free.

2. Free Option: Use Windows Built-In Screen Recorder
For those diving into the world of screen recording on PCs, the built-in Xbox Game Bar might come as a pleasant surprise. Originally designed with gamers in mind, this feature allows users to capture their on-screen activities with just a few clicks. It’s incredibly handy for quick recordings, especially if you’re in a pinch and don’t have any third-party software installed.
The simplicity of the Xbox Game Bar makes it an appealing choice for beginners or those who need a no-frills solution.
However, while the Xbox Game Bar is convenient, it does come with its set of limitations.
For one, its primary design is for game captures, which means some advanced recording features that content creators or educators might need are missing. There’s limited flexibility in terms of editing, annotating, or adding overlays, which can be a drawback for those looking to create more polished or interactive content.
Compared to more robust screen recorders that offer a full suite of features that go beyond mere screen capturing (e.g. adding subtitles, editing tools, etc.), the Xbox Game Bar is a bit basic.
While the Xbox Game Bar is a nifty tool for quick and straightforward screen captures, those seeking a more comprehensive recording and editing experience might find a third-party screen recording tool to be more in line with their needs.
Benefits of Using Xbox Game Bar:
- Free, built-in tool on most PCs
- No additional downloads needed
- Fairly simple to use
3. Harder Option: Screen Record with an External Device
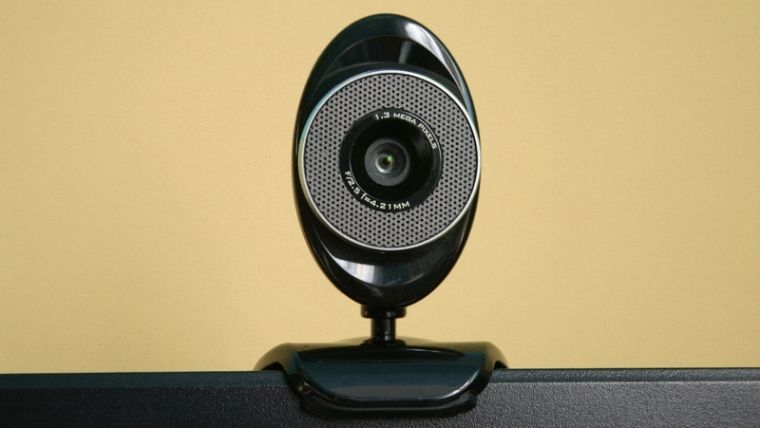
If you’re using a desktop, you can record your screen using any webcam or USB microphone which may come with built in screen recorders in many cases. This guide will teach how to connect and use both devices, then show you how to record and save the video.
First, I’ll show you how to use a USB camera as an external device to record your screen. Most USB cameras will have a “Screen Recording” or “Video Capture” mode, which will allow you to record your screen as well as the audio from your computer.
To use a USB camera to record your computer screen, connect it to your computer and open the software that came with the camera. From here, you should be able to start a recording by clicking the “Screen Recording” or “Video Capture” button.
When you’re finished recording, save the video to your computer and share it with others.
If you want to use a USB microphone as an external device to record your screen, the process is a little different.
First, connect the microphone to your computer and open the software that came with it. most USB microphones will have a “Screen Recording” or “Audio Capture” mode, which will allow you to record your screen as well as the audio from your computer.
From here, you should be able to start a recording by clicking the “Screen Recording” or “Audio Capture” button.
When you’re finished recording, save the video to your computer and share it with others.
Benefits of an External Webcam or USB Microphone:
- Can record high-quality video
- Records audio from your PC too
- No need to install any extra software (some cameras may require special drivers)
Useful Resources
Final Thoughts
As an instructional designer, I use screen recording all the time when creating eLearning materials.
Simply use the method that works best for you, whether that’s installing extra hardware or using a free web-based screen recording.
Keep in mind that some screen recorder software may only work with certain types of computers, so be sure to check the system requirements before you buy or download anything.
Have any further questions about how to screen record on a computer? Leave a comment below and I’ll help you out!
Scott is also a contributor to numerous top industry publications, including eLearning Industry and the TalentLMS Blog, as well as a trusted expert source whose analysis has been quoted and referenced in the LA Times, Fox Business, Houston Chronicle, NEA Today, and others.