With the explosion of virtual learning in recent years, recording lectures online has become an essential skill for many educators. The National Center for Education Statistics‘ most recent report found that two-thirds of all college students took at least one online class in 2021, meaning lecture videos are in high demand. As someone with nearly 20 years working in eLearning and distance education, I assure you it’s a relatively simple process that anyone can learn with some basic knowledge and the right tools like Wondershare DemoCreator.
In this article, I’ll show you how to record lectures in 5 simple steps.
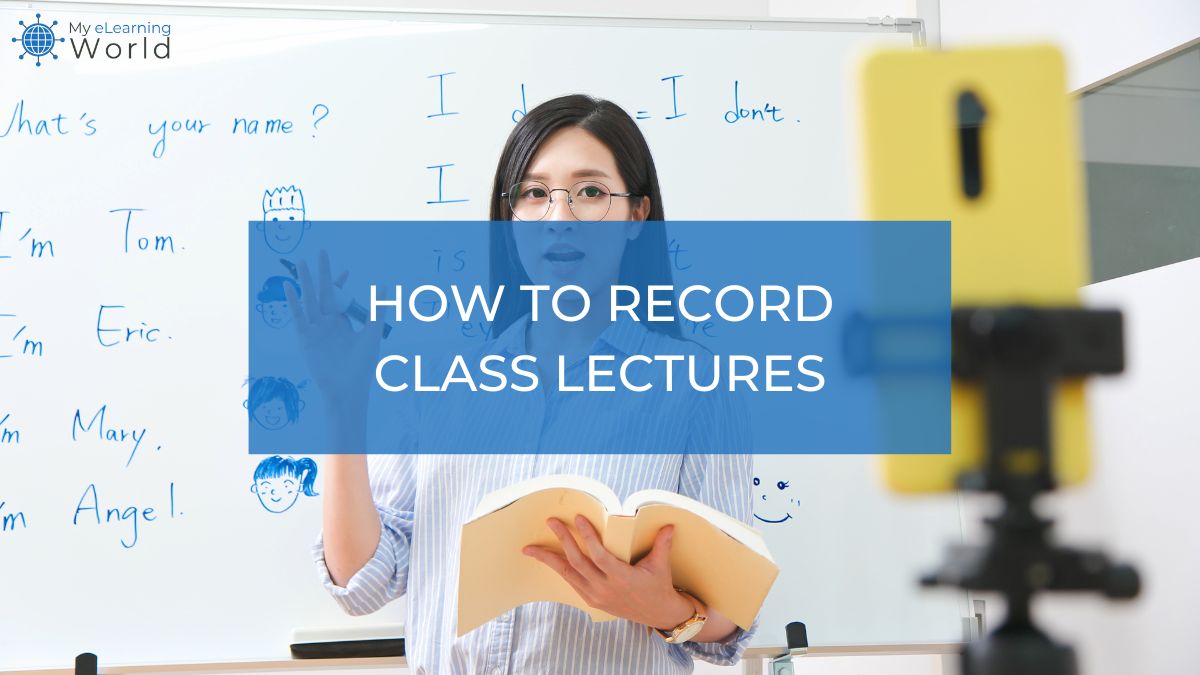
How to Record Lectures: 5 Easy Steps
1. Get the right equipment
Before you can start recording your lecture videos, you need to make sure you have the right equipment.
In most cases, you will just need a microphone, a computer with a webcam, and screen recording software.
With this setup, you can easily record yourself talking over slides, or a whiteboard, or even just your computer desktop.
For screen recording software, I recommend Wondershare DemoCreator due to its ease of use and wide array of features. DemoCreator is perfect for recording lecture videos as it allows you to easily record your desktop and webcam, as well as add annotations.
2. Test your equipment before recording
Take it from someone who’s learned the hard way — before you start recording, it’s always a good idea to test your equipment.
This will help you identify any problems and ensure that the quality of the recording is as high as possible.
The last thing you want is to spend an hour recording a lecture only to later find out that the audio is too quiet or the video is blurry.
Things as seemingly small as a dirtied lens, a popping microphone, or an accidental shadow on your screen can ruin the quality of what ends up on camera.
If possible, set up your equipment and give it a brief run-through the day before filming to make sure everything is working correctly and sounding good.
By taking the time to do an effective pre-recording check of all your media supplies and making sure you have all the necessary accessories in place, you can be confident that tech glitches won’t harm the output of your lecture.

3. Start recording
Now that you’ve tested everything and made sure it’s all good to go, it’s time to start recording.
To begin, make sure you have a clear idea of the structure of your lecture and what points you want to cover.
This will help ensure that your video is organized and easy for your students to follow.
Once you’re ready, open up the screen recorder software (we recommend Wondershare DemoCreator) and hit ‘Record’.
Remember, you don’t have to knock out your entire lecture in a single take. You can break up the recording into chunks if it makes things easier.
As you’re recording, make sure you’re staying in frame and speaking clearly and loud enough for people to hear you.
When you’re done, hit ‘Stop’ and save your recording.
4. Edit and review your video
Once you’ve finished recording, it’s time to edit your video.
Video editing can be a little intimidating at first, but you’re not trying to produce an Oscar-winning film here.
The main thing to focus on is making sure the video is easy for people to follow and understand.
You can edit out mistakes, add annotations or titles, trim excess footage, and generally make it look as professional as possible.
DemoCreator’s built-in editing tools make it easy for anyone to trim, add annotations, or adjust the audio levels of your lecture video.
Once you think you have a solid edit in place, watch it through once more to make sure everything looks and sounds good.
5. Publish your video
Once you’re happy with the result, it’s time to publish your lecture video online.
You can upload it to a video hosting platform like YouTube or Vimeo if you are using video. You can upload the file to a service like SoundCloud if you are just using audio.
You can also embed the video or audio file on your website or blog. To do this, copy and paste the code provided by the video hosting.
Or you might use an LMS (Learning Management System) to share the video with your students.
Reasons to Record Lectures Online
There are a lot of benefits to recording lectures, especially for course creators and teachers. Some of them are given below:
Build a repository of course videos
When you start recording your lectures, you will automatically have a library of videos for your students to access at any time. This can be useful for students who need to review certain topics or for those who want to catch up on lectures they missed.
If you make your videos available online, you can also reach a much larger audience than just those enrolled in your course. This could be useful for promoting your course or building up your reputation as an expert in your field.
Improve the quality of your lectures
Recording your lectures can help you to improve the quality of your teaching. When you watch yourself back, you may be able to identify areas where you need to improve or add more detail.
You can also use recording lectures as a way of assessing your students. By watching the videos back, you can see how well they engage with the material and whether they understand the concepts being taught.
Enable flipped classrooms
Recording lectures can be a great way to enable flipped classrooms. This is where students watch lectures at home and then use class time in school to work on assignments or participate in discussions.
This can be beneficial for students as it allows them to learn at their own pace and review topics as many times as possible. It also frees up class time for more interactive activities.
Make your course more accessible.
If you have students with disabilities, recording your lectures can make your course more accessible. They can watch the videos at a time and place that suits them, and they can pause, rewind and fast-forward as needed.
Save time
Recording lectures can save you time in the long run. Once you have created a set of videos, you can use them for multiple courses or even make them available for other teachers to use.
You can also avoid having to repeat yourself by answering questions that have been asked multiple times. Instead, you can direct students to the relevant video lecture.
Help absent students
If students are absent from class, recording lectures can help them catch up on what they missed. This is especially useful for students who miss class for medical reasons or other commitments.
Even if students are present in class, they may not always be able to pay attention to everything that is being said. Recording lectures can help them go back and listen to the parts they missed.
Enhance the learning process
Recording lectures can also enhance the learning process for students. When they watch the videos back, they can take their time to pause and rewind as needed. They can also take notes and refer back to them later.
Final Thoughts on How to Record Lectures
In today’s eLearning landscape, recording lectures is an essential skill.
The good news is it’s easier than ever to set up a simple home studio, record high-quality videos, and share them with your students.
With the right tools and a bit of practice, you too can create engaging lecture recordings that will help make learning more accessible for everyone.
If you need to record lectures, demos, or any other type of presentation, I highly recommend Wondershare DemoCreator for all of your recording needs.
It’s an easy-to-use, high-quality screen recording and video editing tool that helps you create professional and engaging content quickly.
Click here to try it free today.
Have any questions about how to record lectures online? Let us know by leaving a comment below so we can help you out.
Scott is also a contributor to numerous top industry publications, including eLearning Industry and the TalentLMS Blog, as well as a trusted expert source whose analysis has been quoted and referenced in the LA Times, Fox Business, Houston Chronicle, NEA Today, and others.