
As an instructional designer, I often use screen recording to create compelling eLearning materials, training videos, lecture videos, and tutorials that resonate with learners. For Mac users looking to do the same, there are several different options available for recording your screen along with audio if you wish.
In this article, I’ll walk you through the steps to screen record on your Mac with audio, helping you create educational content is not only informative but also immersive and impactful.
3 Easy Ways to Screen Record on a Mac
1. VEED
If you’re looking for an easy way to screen record on your Mac without adding any extra hardware, try using VEED. This powerful screen recording software is available as a browser extension that allows you to record your computer screen and audio. You can then easily share the video with others.
To use VEED, just visit the website, create an account, and start a new project to begin recording.
After you’ve made your screen recording, VEED has a ton of editing tools available if you’re looking to add some final touches to your video or clean up the audio.
As pointed out in our VEED review, some of our favorite things about using it include:
- No extra hardware required
- Easy to use, no tech skills needed
- Records video and audio
- Easy to upload and share videos online
- Free to use (paid version with even more features is available)
- Tons of video editing features
Click here to try VEED for free.

2. QuickTime Player
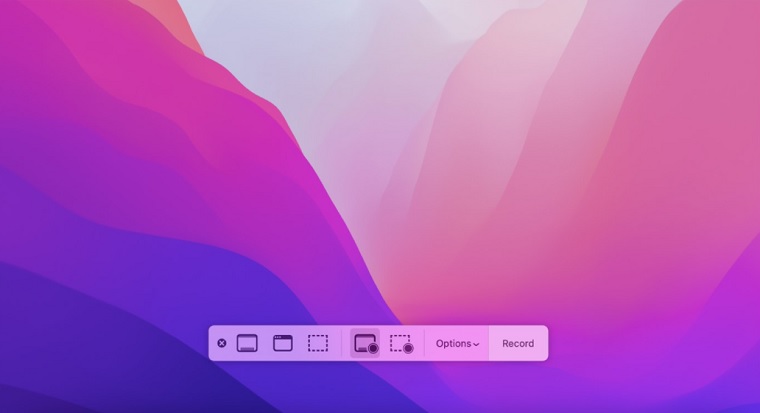
The first option you have is to use QuickTime Player. It’s free, easy to use, and can support multiple formats.
- Open your video in the player by either dragging it onto the icon or opening it through File -> Import -> Movies (or other media) (.mov, .mp4, etc.)
- Click on the little arrow next to ‘Record’ and select ‘New Movie Recording’. In some cases, this may already be clicked for you.
- If you would like to record from a specific device such as a mic or phone, check ‘Video From’ and select that device. This will be indicated by a microphone symbol next to it if compatible with QuickTime Player.
- If you would like to add a voiceover or just have an external microphone, check ‘Microphone’, select your input device, and hit record.
- Hit stop when you’re done recording! The video should be saved in your Movies folder. To access it, click on the small blue dropdown box next to ‘Record’ and select Open Movie Recording Folder. You can also find this by going to File -> Show in Finder . This will open up a new window where you can double click the screen recorded file to watch/edit later (if using QuickTime Player).
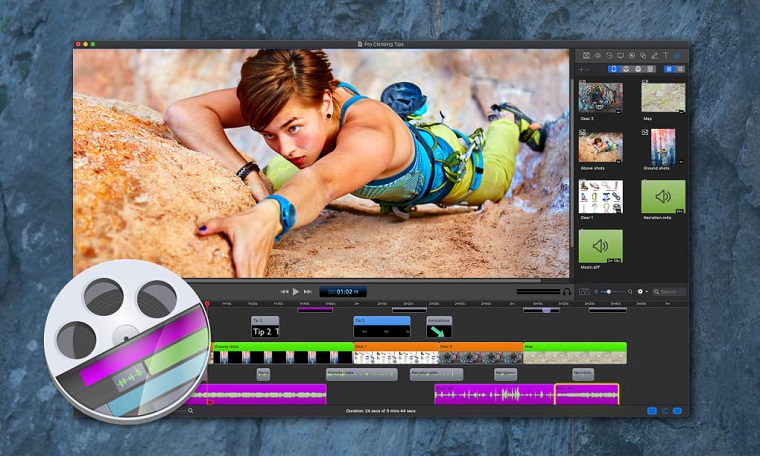
3. ScreenFlow
The advantage of using both QuickTime and ScreenFlow is that they are both produced by Apple; if that doesn’t appeal to you, there are other options that can be used.
- Open up ScreenFlow. If you don’t have it already, you can download the trial version.
- Click on ‘File’ in the top left corner of screen.
- Click on your video file like so (your cursor should turn into a circle). The options below will change depending on which type of media you select/drag to the player.
- After clicking on the movie, ScreenFlow will generate thumbnails for specific points in your video, if applicable. These can be dragged around to adjust where they occur or just click anywhere in the timeline at the bottom and drag them wherever want them. This is also helpful if you need to cut parts out or shorten the length of your video.
- When you’re ready, click on ‘Capture’ followed by ‘Record Screen’.
- If you would like to record audio through the microphone built into your Mac, check ‘Audio Device’ and select Built-in Input. You can also use another microphone with your computer but that is outside of the scope of this post. Selecting Built-in Input will successfully record audio along with screen recording just as it does in QuickTime Player. Any other changes will have to be done after recording through editing software on a computer (such as iMovie on Mac).
- If using an external microphone/source for voiceover, you can select it from Microphone.
- Hit Record and you should see a big red circle while it’s recording. This indicates that ScreenFlow is actively screen capturing, not just recording your desktop activity.
- When you’re done, notice the stop button has changed to a pause button meaning you can now manually control when recording stops/starts. You can also click on ‘Timeline’ at the bottom of the software interface to adjust where in the timeline your video begins and ends.
The video will appear under its own tab in ‘Library’. Clicking on it allows for quick editing through the editor but this tutorial will not go over editing.
Final Thoughts
As you can see, recording screencasts on Mac is incredibly easy. There are a variety of software available if you decide to purchase one but for those looking for free options, VEED especially is a really great choice.
Have any questions about how to screen record on Mac? Comment below and we’ll help you out.
Scott is also a contributor to numerous top industry publications, including eLearning Industry and the TalentLMS Blog, as well as a trusted expert source whose analysis has been quoted and referenced in the LA Times, Fox Business, Houston Chronicle, NEA Today, and others.