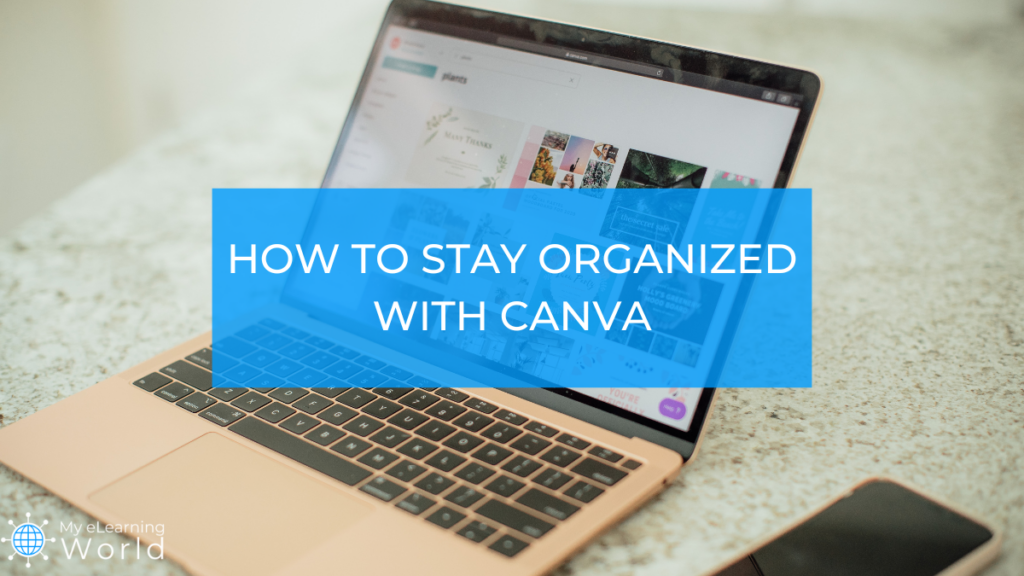
Canva is one of the most powerful design tools out there that makes it possible for anybody to create stunning visuals and designs with no expertise required.
Whether you’re a teacher making worksheets for your class, a business owner designing flyers to promote your company, a student creating a slideshow presentation for class, or just someone designing something for fun, Canva does it all.
With its intuitive drag-and-drop user interface and powerful features, it is one of the most popular tools for creating awesome graphics quickly and easily. Canva also has an extensive library of templates that helps you create amazing visuals in no time.

And while it’s totally free to create a Canva account and use the platform, an upgraded Canva Pro account lets you access unlimited features, way more templates, and premium content to take your designs to the next level.
But here’s the thing — if you want to get the most out of Canva, you need to make sure you stay organized.
Thankfully, Canva has a number of cool features that not only help you better organize your projects, but also make it easier to streamline your workflow on future projects so you can get more done in less time — especially if you’re a Canva Pro user with access to all of its features.
In the guide below, we’re going to show you all the different ways you can stay organized with Canva so you can maximize your productivity. Ready to get started? Let’s dive in!
Disclosure: Some of the links in this article are affiliate links, meaning at no additional cost for you, we might get a commission if you click the link and purchase.
14 Ways To Stay Organized With Canva

Remember-content is king! And creating appealing graphics and designs is now a piece of cake with Canva. Whether you want content for your blog, social media platform, or other marketing materials, Canva’s user-friendly interface allows you to design anything.


1. Organizing Folders And Files
All design projects can be kept in one place with Canva with its wide array of features and options. It is ideal for designers and large-scale businesses that have several different projects going on simultaneously. Users have access to tools such as folders and subfolders, which can assist in organizing files using the “My Folders” feature.
There is a need to create a structure of folders that makes sense for everyone working on a particular project or design. The folder structure can be such that it categorizes folders based on the type of project, templates, theme, or clients’ names.
Subfolders can be made after that, and it’s also important to name the folders wisely, so there is no confusion. The two main folders can be “Brand Elements” and “Templates”. The brand elements folder should have files and brand assets like logos, patterns, headshots, and other files used in branding. The templates folder helps in organizing the designs that will be used multiple times.
2. Tagging
Designs can further be organized by using tags. In addition to the numerous options Canva offers for the convenience of its users, tagging is another mind-blowing feature. Tags are keywords that define a particular design or project and can be assigned to designs so they can be found later. Tagging greatly helps in the organization of designs. Users can search for tags and find all related designs easily.
3. Setting Up Brand Kit
Canva Pro offers a brand section where users can add colors, fonts, graphics, and the business’ logo (if any). Once these are added to the Canva Account Brand Section, finding and using them becomes far easier. To do this, go to Canva>Your Brand>Brand Kit. It’s recommended that users add the few most used graphic elements in this kit. By doing this, users can save time by not having to repeatedly look for the same elements.
4. Starring
There is also an option to star folders when there is a need to prioritize them. This can be done for discovered elements that need to be used more often. To do this, go to your main Canva dashboard and click “Add new folder”.
To add a design to a folder, drag that particular design to the folder, change its name, and star it by clicking the three dots on that element and hitting “star”. This will enable you to save that element in the stars tab so users can view that folder on the top. Design folders can be used for project folders, and the brand kit template can be used for primary business templates.
5. Photo Folders
Photo folders help find the required, ideal image in a matter of a few seconds. Some photo folders that can be created are a logo folder, BIO images folder, a photo folder by image resource, and folders for patterns, graphic elements, and images.
To do this, click on the + sign that says “New Folder” and name this folder. Spend some time organizing this folder.
Once the uploads folder is properly managed, all the files and uploaded images can be accessed by type and they can be found within seconds without uploading duplicate images.
When the “i “ is seen while hovering over an image, select the location where the image is supposed to be moved.
The best way to save images is to do it in a way you would like to search for them. So it’s necessary to name designs and adjust them in their respective folders.
6. Wise Color Usage
Using colors to show consistency and balance is also necessary as colors greatly affect design. Colors are powerful tools that trigger responses, build character, and set a particular mood for a design.
Once a range of colors is selected, place them into the brand kit so they can be easily accessed during the designing process. In addition to colors, the logo and fonts should also be accessible. Once these basic elements are aligned, other elements, such as textures, patterns, and images that display cohesion and coordination of the designs, also get aligned.
7. Connecting External Storage
The organization and storage of media in Canva greatly improve when external storage is connected to the application. This can be done by connecting Google Drive through “more” apps on the left side of the Canva Design Menu.
8. Templates
For beginners, templates are a great means of learning Canva. They can be found in the top left corner and users can search for them or find their recommended templates.
9. Saving Filters And Effects
Another important step is finding the perfect filters and effects for your business and design materials. To stay organized within Canva, it will be helpful if users apply the same filters and effects to photos. This can be achieved by copying and saving the filter code on a photo by placing it on a document or notes application inside your phone but outside the Canva application. The ability to save the picture’s edits and reuse the same effects on future designs and projects reduces the hassle.
10. Using Canva On Phone Instead Of Desktop
Designing on the go is a perk only Canva can offer. Instead of using its desktop application for minimal designs, it’s better to design from one’s phone using the Canva application.
Designing, editing, and publishing can all be done on the go, which gives users the motivation to explore the app.
This is especially useful if you want to carve a poster quickly for your Instagram page or any other social media handles. All you need to do is open Canva, choose the best template, add text and infographics and VOILA- your Instagram post is ready in a jiffy.
11. Sharing To Social Media
Canva offers the option to share content directly to social media instead of downloading it on your phone or laptop. The three dots on the top of a design can be clicked, and the share option can be used to choose the required platform on which users need to share their designs. In this way, you can use your free Canva account to simplify the sharing process and make your task doable by working smarter, not harder.
12. Resizing
This feature enables resizing of pre-saved templates in a single click. As a result, considerable time is saved in the workflow because any design can be resized into another size instead of creating it from scratch and deciding new measurements.
13. Scheduling
Scheduling is extremely helpful to stay organized with Canva because it keeps users’ content schedule and creation on one platform.
Users have the option to create a schedule in Canva. To do this, all you need to do is click on the “plus sign” in the upper left-hand corner of the screen. Next select “Custom Dimensions” from the drop-down menu.
When there is a need to schedule something, users can connect to the platform and choose the most suitable date and time.
14. Decluttering
Decluttering is another way to amp up your productivity. By simply decluttering and cleaning the irrelevant mess from folders, users can systematically manage their Canva accounts. It can be done by going to the folder and deleting all images that are not required anymore.
Also, remove any unnecessary templates and images to free up space for other important templates that are more relatable to your area of expertise.
Pictures can be selected by simply hovering over them, clicking the small check box that appears, and choosing either the “Move to Folder” option to relocate or the “Delete” option to clean the folder completely.
Final Thoughts

Given all the promising features it supports, Canva’s user-friendly interface makes it a go-to design tool for users of all ages. Its superb functionality and innovative features set it apart from other graphic design applications.
With the plethora of options and features, you may get overwhelmed using Canva. But don’t worry. We’ve got you covered.
By following these tips and tricks, you can organize your Canva workflow and improve productivity.
And remember, if you want to get the absolute most out of Canva, you should consider signing up for a Pro account.
With Canva Pro, you can access additional premium features that help you do even more with this multifunctional platform.
So give it a try and start creating stunning designs with Canva today!
Have any other tips for staying organized with Canva? Let us know by commenting below.
- The Best Online Courses Websites For Learning Just About Anything (2026) - 05/27/2026
- Xero Review 2026 - 03/15/2026
- Xero Cloud Accounting: Is It Worth It? (2026 Update) - 01/20/2026